Many photos will benefit from some added sharpening and Photoshop gives you a few different ways to sharpen your images. While it’s nice to have options it can also be a little confusing when you are trying to decide which of 5 different methods you should use to sharpen your photo. Unsharp Mask is pretty easy to use and still gives you plenty of control over the result, so it is a good option to use.
To start, first duplicate your photo layer so the sharpening will be done non-destructively. That way if you don’t like the result you can delete the duplicated layer with no impact to your photo. So go to Layer > Duplicate Layer to create a copy of your background layer. Then right click on the layer in the layers palette and click on “convert to smart object”. We want to make the layer a smart object before applying any sharpening because that will allow us to come back later and tweak the settings if needed.
Ok, once you duplicated your background layer and converted it to a smart object you can move forward with the sharpening. Go to Filter > Sharpen > Unsharp Mask to open the settings.
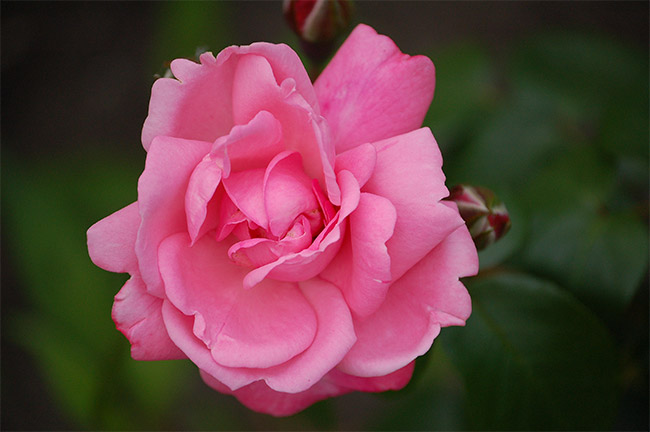
I will be working with a sample photo of a flower for this demonstration.
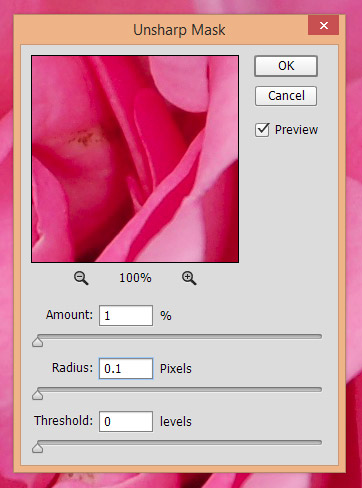
The amount slider determines the strength of sharpening that is applied. The higher number you set or the farther to the right that you push the slider the more sharpening will be applied.
The radius slider impacts how many pixels at the edges are sharpened. You’ll generally want to keep this setting pretty low. The higher the setting the more extreme it will look. Since this measurement is in pixels keep in mind that the size of your photo will also impact the setting that you choose. For example, a setting of 2px will have a greater impact on a photo that is 1,000 pixels wide as compared to the impact it will have on a photo that is 5,000 pixels in width.
The threshold slider determines how much of the photo will be sharpened. Set at 0 the entire image will be impacted. As you slide it to the right less of the photo will be impacted, based on contrast in the image.
For this photo I am setting the amount at 100%, the radius at 1px, and the threshold at 0.
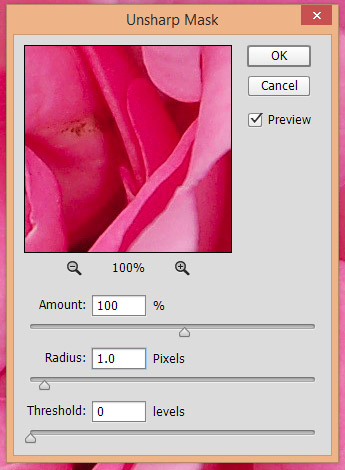
The end result is a photo that is effectively sharpened, but not overdone.