One of the most common issues that you’re likely to need to fix in post processing is recovering shadow and highlight detail. Lightening the shadow areas and darkening the highlights can help to bring out more detail in photos, and Photoshop makes it possible to do this. While you can adjust shadows and highlights in Lightroom or Camera Raw, you can also do it in Photoshop when you are using .jpg files. Let’s take a look at how it works.
First, create a duplicate of your background layer by going to Layer > Duplicate Layer. This allows you to make non-destructive changes that will not impact your original photo, so if you don’t like the results you can simply delete the layer and you’ll be back to the starting point. Next, we want to convert this new layer to a smart object. Right click on the layer in the layers palette and click on “convert to smart object”. The reason we want to convert the layer to a smart object is because that will allow us to go back and make changes to the shadow and highlight settings later if needed.
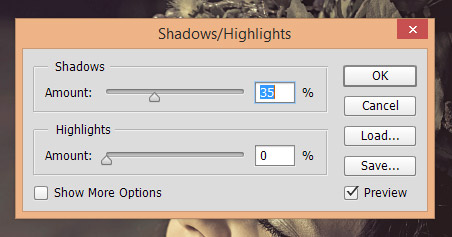
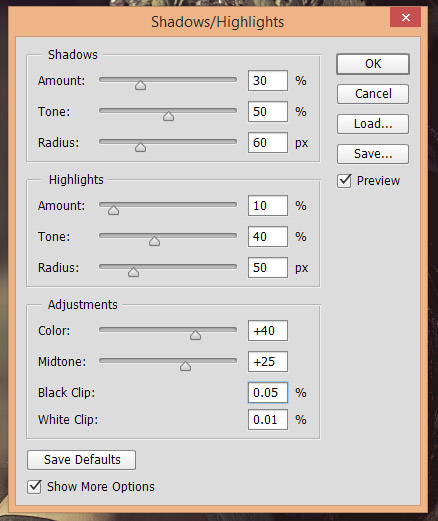
Ok, now go to Image > Adjustments > Shadows/Highlights and you’ll see this box:
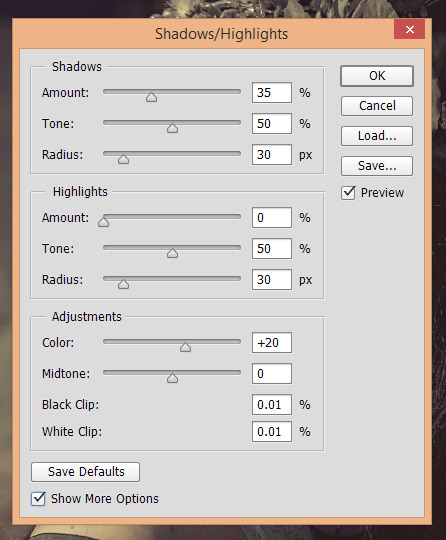
Check the box that says “show more options” and it will look like this:
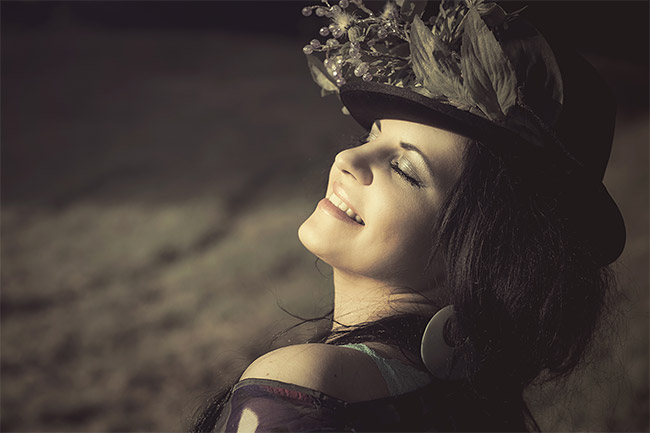
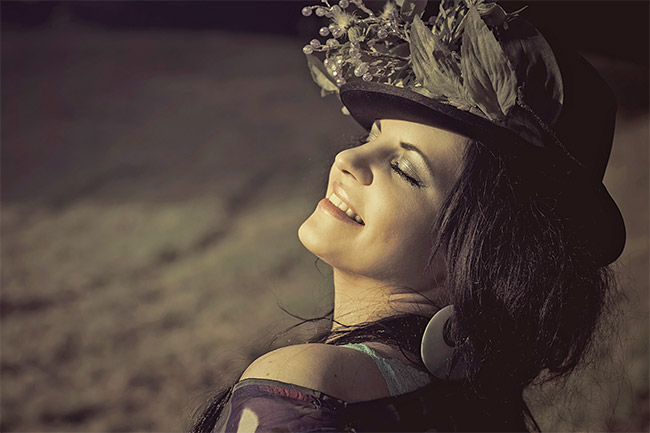
Here is a look at the sample photo the I am working with:
Ok, now back to the settings, let’s take a look at what they do. Shadows and Highlights each have 3 sliders: amount, tone, and radius and they work the same way in shadows and highlights, just reversed. For shadows sliders will determine how the shadows are lightened while the highlights sliders will determine how the highlights are darkened.
The amount slider is pretty easy to understand. You’re simply adjusting how much the shadows are lightened and how much the highlights are darkened. The more you slide it to the right the stronger the effect.
The tone slider determines what is considered a shadow or highlight. At the far left only the darkest areas will be considered shadows and only the lightest areas will be considered highlights. As you move the sliders to the right more area will be considered shadows and highlights, and adjusted accordingly.
The radius slider determines how the areas around the adjust pixels will be impacted. If a pixel is determined to be a shadow or highlight and is adjusted the radius setting will determine how many pixels next to it will also be impacted. Moving the slider to the right will give your adjustments a more gradual impact and moving the slider all the way to the left can create some harsh transitions and halos.
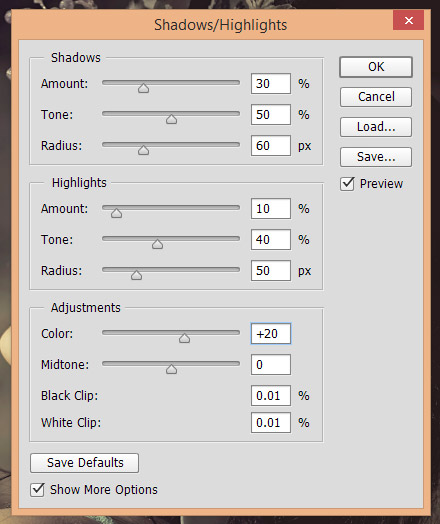
For this sample photo I am setting the shadow sliders to 30, 50, and 60, and the highlight sliders to 10, 40, and 50.
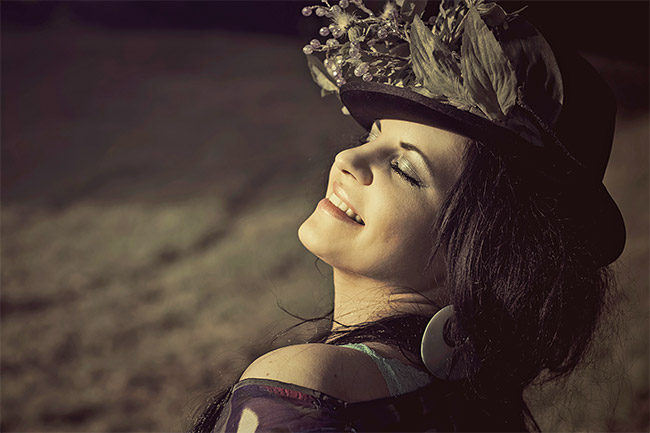
After those changes the sample photo looks like this:
There are a few other sliders to look at as well under “Adjustments”. The color slider adds some color and saturation if you move it to the right. By default it will be set at 20. For this photo I am going to increase that to 40 to add a little color.
The midtone slider will impact the contrast in midtones. Sometimes after adjusting the shadows and highlights you’ll get a flat-looking image and by adding some midtone contrast you can improve that. I’m going to move it from the default of 0 to 25.
The black clip and white clip sliders will determine how much of your shadows and highlights will be pure black and pure white. I often leave these settings at the default of 0.01%, especially the highlights. Sometimes I’ll increase the percentage of the black clipping to give a bolder black. In this case I’m going to set it to 0.05%.
And here is the end result of the sample photo.
You can use the shadows and highlights adjustments to really improve your photos once you understand how it works.