Our Lightroom presets are compatible with all versions of Lightroom going back to version 4. However, the process of installing those presets changed slightly from the older versions to the newer versions. The instructions on this page will be relevant to you if you are using Lightroom 4, Lightroom 5, or Lightroom 6. If you are using a newer version, please see this page for instructions. Please see this page if you are trying to install presets in Lightroom CC.
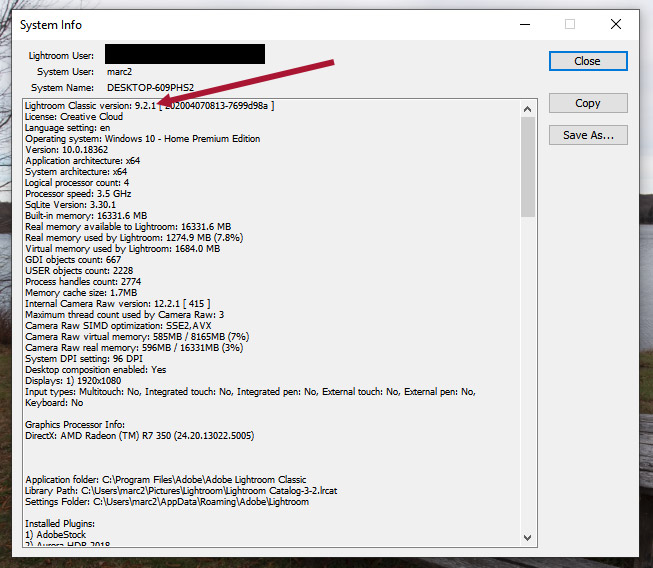
If you’re not sure which version of Lightroom you’re using, please open the software and go to Help > System Info and you should see a window like the one shown below that will indicate the version.

The process of installing Lightroom Presets is pretty simple, but if you have never installed presets before please follow the instructions below.
Step 1: Download the Presets
After you have completed the checkout process you will be led to a page where you can download the presets that you purchased. Download the zip file and store it somewhere on your computer for future reference. You will be installing the presets in Lightroom, but you should also have the actual preset files somewhere else on your computer as a backup.
Step 2: Open the Presets Folder in Lightroom
With Lightroom open, if you are using a PC go to Edit > Preferences, and if you are using a Mac go to Lightroom > Preferences. This will open a window like the one shown below.

Go to the “Presets” tab and click on the “Show Lightroom Presets Folder” button. That will open folders as shown below.

Click to open the “Lightroom” folder. Then click to open the “develop presets” folder as shown below.

Step 3: Paste in the Presets
If you have not installed any presets you will only see a folder called “user presets”. If you have installed other presets in the past, you will see them listed here. Copy the presets that you downloaded from Shutter Pulse and paste them into the “develop presets” folder as shown below.

Step 4: Close and Re-Open Lightroom
Now, completely close Lightroom. When you re-open Lightroom your presets will be installed.
Step 5: Start Using the Presets
To access them go to the develop module and you will see them in the left hand side. Click on the name of any preset to apply it to your photo.

