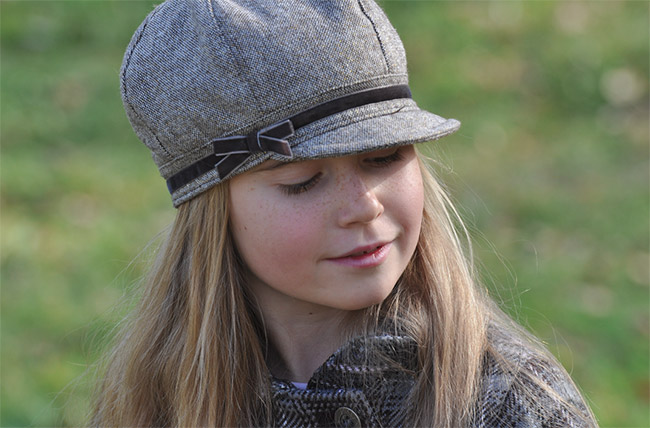
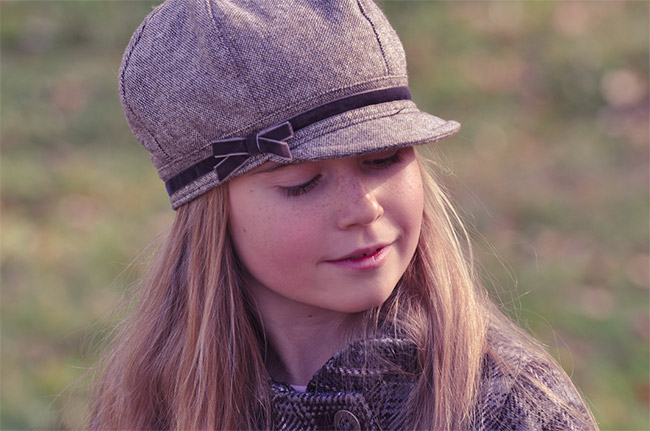
Lightroom’s split toning sliders provide great opportunities to enhance your photos in several different ways, but if you have never used the split toning sliders it can be a little confusing. Let’s take a look at how split toning works, and we’ll use the sample photo below (you can download the photo here if you would like).
First, find the split tone settings on the right side of the screen in Lightroom’s develop module.
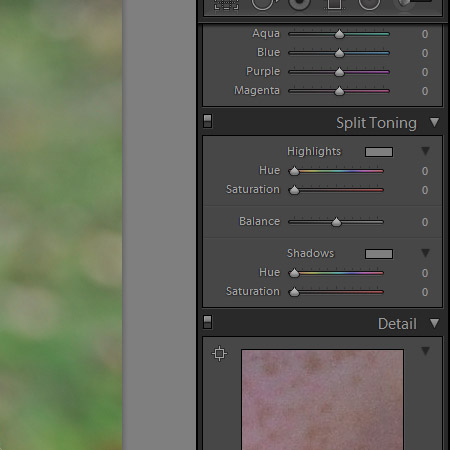
There are a total of 5 sliders. There two sliders for the highlights, two sliders for the shadows, and one for balance. The highlight sliders will impact the light areas of the photo, the shadow sliders will impact the dark areas, and the balance will push or pull the balance towards either the highlights or the shadows. Both the highlights and shadows have a slider for hue and another slider for saturation. The hue slider determines what color will be used and the saturation slider determines how strong it will be.
The best way to understand it is to experiment a little. Let’s start by adjusting the hue slider for the highlights. With the saturation set at 0 you won’t notice any changes that you make to the hue slider, so you can either increase the saturation slider first, or simply hold down the alt key while slider the hue slider and it will show up on your photo as if the saturation was set to 100%. This is a great way to see the color that you are working with and then you can adjust the saturation after you have selected the hue.
When I hold down the alt key and move the highlight hue slider to 270 it gives the highlights a purple tint.
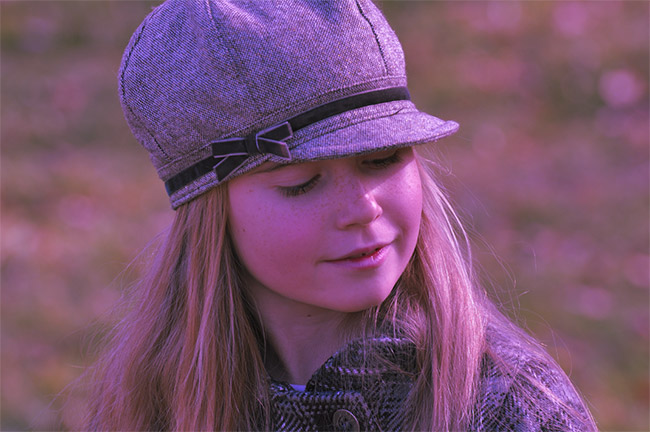
With the highlights sliders both set back to 0, when I hold down the alt key and move the shadows hue to 270 it gives a strong purple tint to the shadow areas.

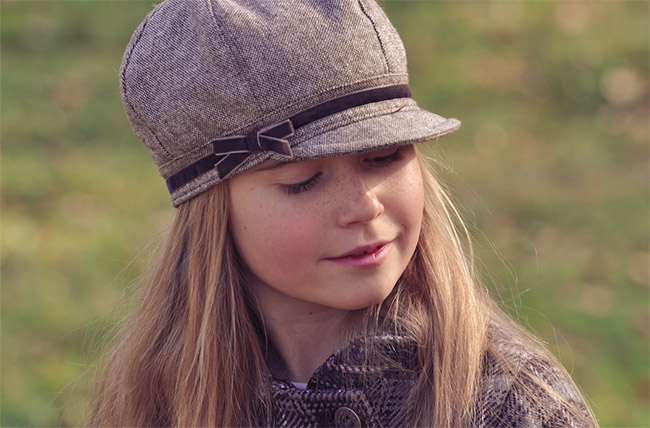
I’m going to use this purple hue in the shadows, but I want to scale the saturation back to 40. That gives the photo this look:
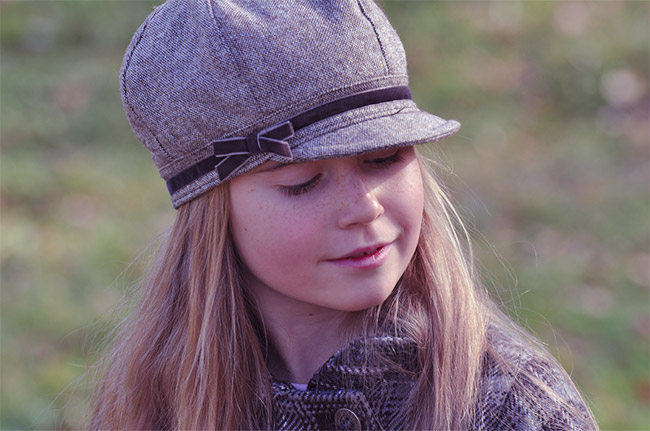
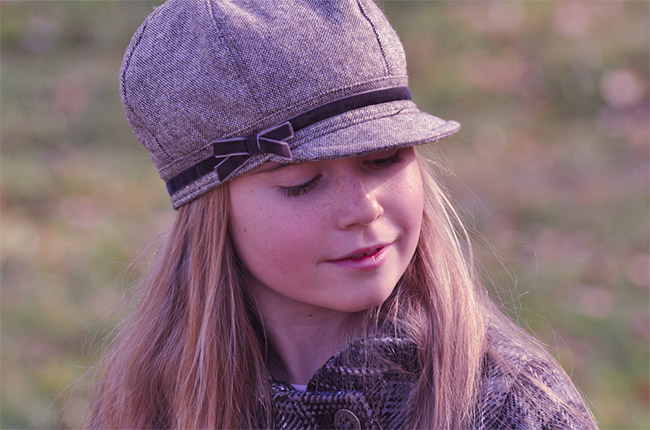
When it comes to the highlights using a golden color tends to work well, especially with outdoor photos and portraits. So I am going to set the highlights to a hue of 45 and saturation of 30. That gives the photo this look:
If you adjust the balance slider it will impact the split toning accordingly. If you move it to the right the highlight toning will be more obvious than the shadows. With the balance set at +60 it looks like this:
And with the balance set to -60 it looks like this:
For this photo I think somewhere around 35 for the balance slider looks good.

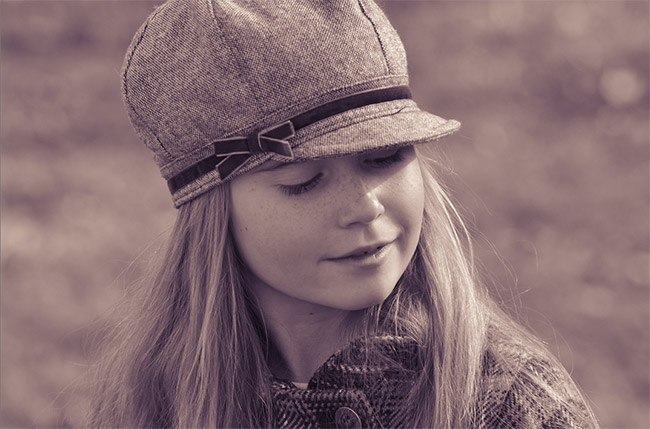
You can also use split toning with black & white conversions to give your images a tint of color. If I leave the split toning settings exactly the same and simply convert this photo to black & white it looks like this:
You can also see an example of split toning in our Free Orange Fade Lightroom Preset.
